Make Your Own Mixes
Tuesday, July 24, 2012
July 24, 2012
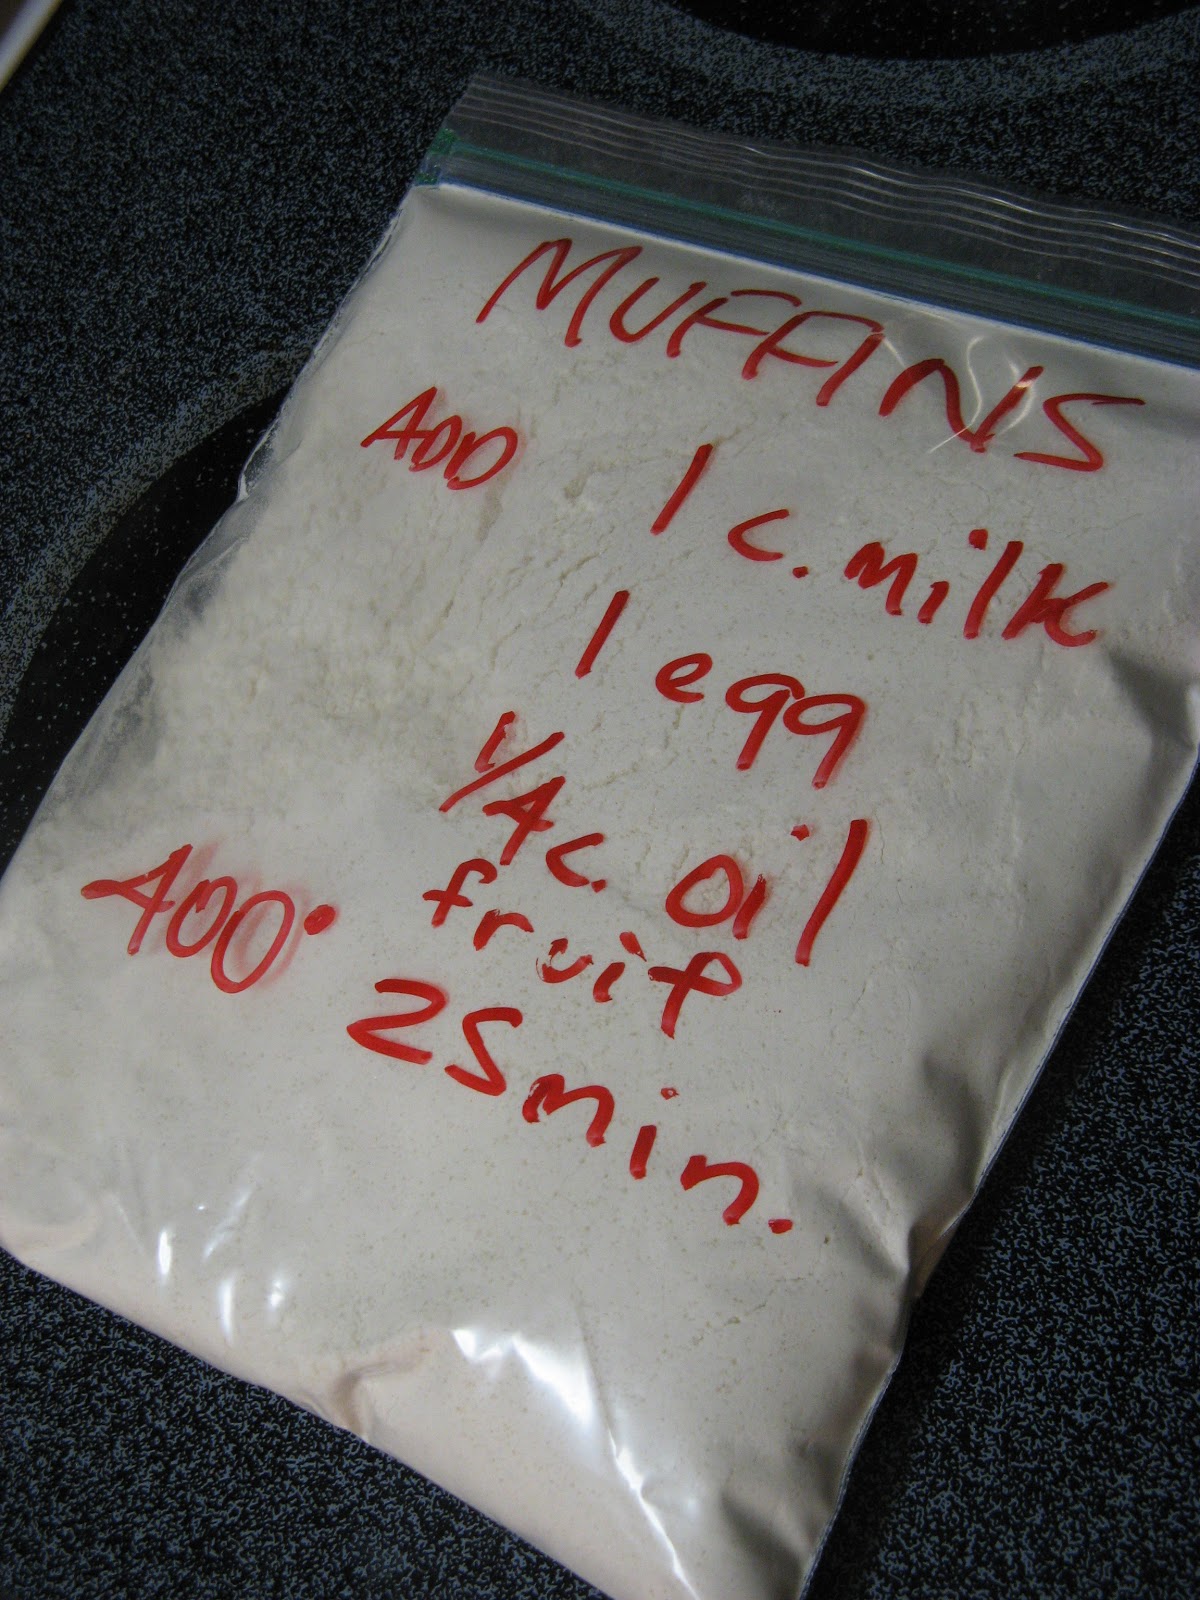 |
| Add some fruit right before you bake your muffins |
BUT STOP!
Guess what I found? Someone has already done all of the work for me! I just found Fake It Frugal, lots of DIY mixes and cleaning products, very excited!Some experiential advice: In my process of switching over to clean eating, I always use the exact ingredients listed and follow the directions given in any new recipe. This way I'm able to figure out where I can make changes that work (use less sugar) AND avoid those that don't (use at least some sugar).
Take my muffin mix for example: I've learned that if you only use baking powder in your recipes, your baked goods have a slight bitter flavor. I began wondering if that's why sometimes baking recipes have both baking powder and baking soda. So, I substituted 1/2 teaspoon of baking soda for one of the teaspoons of baking powder and, BINGO, no bitterness!
You also have to try the chocolate chocolate chip muffins~
Cleaning up my eatin'
Sunday, July 22, 2012
July 22, 2012
 My family has always been kind of 50/50 with the healthy vs. junk food thing. Although, I have to also say that McDonald's is (was?) one of my favorite places to eat and the Big Mac my favorite thing to eat there. I've raised my boys, who are now 16 & 11, to love fast food too. However, dinnertime at our house was, in the past, "okay."
Around August of 2011, I started having weird breathing issues. I started going to see doctors and received a new diagnosis and a few new prescriptions at each visit! There was a point where I would leave with drugs for my physical symptoms and drugs for anxiety. One visit was to a pulmonologist (lung dr.) who told me I had acid reflux which began a series of acid reflux meds beginning with omeprazole all the way to Dexilant. I eventually ended up in the E/R at 3AM one morning with excruciating stomach pain. But I digress...
The very day that I saw the pulmonary doc, I cleaned up my eating habits and began eating lots of fruits and vegetables, juicing, etc. I didn't force it on my family at that point, but, over the next three months, I lost almost 20 pounds. I really didn't need to lose weight; my initial weight was 152 and now I weigh about 136 or so. I'm 5' 8".

I've really enjoyed learning how to make as many things as possible from scratch and like to share what I've learned. So come back and visit or follow me on pinterest. Learn how to make homemade pizza here!
PIZZA NIGHT! Pizza Recipe
Saturday, July 21, 2012
July 21, 2012
As promised to several friends, my PIZZA NIGHT pizza process:
First of all, you may be asking 'why?', when there are perfectly good frozen pizzas that you just pop in the oven or awesome papas who will bring a steaming, cheesy pie to your front door, would you want to make your own. Over the past several months, I've decided (due to health reasons and because all my friends are doing it) to clean up what we eat, consuming as few processed foods as possible. I started with a just few of our meals and PIZZA NIGHT pizza was one of them.
Here are the main ingredients that you need for the dough and sauce:
 yeast, flour (I use TJ's white wheat), olive oil, Parmesan cheese, tomato sauce and tomato paste. You'll also need a little bit of sugar, salt, oregano and basil. I found this dough recipe through a random internet search several years ago. It's called Steve's Pizza Dough (link at bottom). I don't know who Steve is, but I salute you, man!
 Dissolve a tablespoon (or one packet) of yeast in 1-1/3 cups water. The water should be at about 120 degrees F. I let my faucet run for a few seconds (I know, wasting water) and it's right at 120. I know this because I actually used a thermometer on it! If the water is too hot, you'll kill the yeast. I don't know if I've ever killed yeast or not, but, hey, it's just pizza dough...
The yeast needs to dissolve in the water, usually takes 5-10 minutes.
While the yeast is doing its thing, combine three cups of flour, 1/2 teaspoon salt, 1/2 teaspoon sugar and 1/4 cup Parmesan cheese in a bowl or your handy-dandy Kitchen Aid mixer. Mix this, then add 2 tablespoons of olive oil. Check your yeast to make sure it's completely dissolved. I usually stir it a little about now. I don't know if that's proper yeast procedure, but I'm impatient.
Turn your mixer on or start stirring and slowly add the dissolved yeast. Mix this until everything sticks together and no flour is left in the bowl. When that's done, I use a silicone scraper to remove all the dough from the paddle and change to the dough hook. I've discovered that silicone scrapers do NOT stick to the dough and make dealing with it a lot easier.


 In order to keep some moisture near the dough, I wet a cloth dish towel (remember, the oven is OFF!) and lay it over the top rack and put the bowl of dough on the bottom rack. Shut the door, set the timer for an hour, 30 minutes if you're short on time, and get ready to make some sauce.


Once you're ready to assemble your pizza, preheat the oven to 450 degrees and spread the sauce to within one inch of the edge, creating your crust. If you want a crust that sticks up above the toppings like the restaurant pizzas, smush the dough up. That's all I've got...


First of all, you may be asking 'why?', when there are perfectly good frozen pizzas that you just pop in the oven or awesome papas who will bring a steaming, cheesy pie to your front door, would you want to make your own. Over the past several months, I've decided (due to health reasons and because all my friends are doing it) to clean up what we eat, consuming as few processed foods as possible. I started with a just few of our meals and PIZZA NIGHT pizza was one of them.
Here are the main ingredients that you need for the dough and sauce:

 Dissolve a tablespoon (or one packet) of yeast in 1-1/3 cups water. The water should be at about 120 degrees F. I let my faucet run for a few seconds (I know, wasting water) and it's right at 120. I know this because I actually used a thermometer on it! If the water is too hot, you'll kill the yeast. I don't know if I've ever killed yeast or not, but, hey, it's just pizza dough...
The yeast needs to dissolve in the water, usually takes 5-10 minutes.
While the yeast is doing its thing, combine three cups of flour, 1/2 teaspoon salt, 1/2 teaspoon sugar and 1/4 cup Parmesan cheese in a bowl or your handy-dandy Kitchen Aid mixer. Mix this, then add 2 tablespoons of olive oil. Check your yeast to make sure it's completely dissolved. I usually stir it a little about now. I don't know if that's proper yeast procedure, but I'm impatient.
Turn your mixer on or start stirring and slowly add the dissolved yeast. Mix this until everything sticks together and no flour is left in the bowl. When that's done, I use a silicone scraper to remove all the dough from the paddle and change to the dough hook. I've discovered that silicone scrapers do NOT stick to the dough and make dealing with it a lot easier.


Before you begin kneading, turn the oven on to warm and PAY ATTENTION TO IT! It only needs to warm up for four-five minutes, then turn it off.
If you don't have a mixer, you get the pleasure of hand-kneading! Do this on a floured surface, like a large cutting board or your dining table if you have negligible amounts of counter space like me. This is a very carthartic process so don't fret. Basically, you're going to smush the dough up into a ball, turn it, then smush it flat, repeat. Knead for about 5-8 minutes. Roll the dough into a ball. Prepare an oven safe bowl or vessel of your choice by coating it with olive oil. Roll the dough around in the oil before you let it settle in it's little oily bed.
 In order to keep some moisture near the dough, I wet a cloth dish towel (remember, the oven is OFF!) and lay it over the top rack and put the bowl of dough on the bottom rack. Shut the door, set the timer for an hour, 30 minutes if you're short on time, and get ready to make some sauce.
For the sauce, I use a 15-ounce can of tomato sauce and a 6-ounce can of tomato paste. Mix these together by putting the paste in a bowl and slowly adding the sauce as you whisk. Then add one teaspoon of basil and one teaspoon of oregano. Sometimes, I add a bit of garlic, but most of the time I forget.
At this time, I double check all of my toppings so that I still have time to run to the store if my 11 year old has eaten all of the pepperoni left from last time.
Some of our favorite toppings are pepperoni (always have this...boys, you know), veggies (whatever I have), fresh basil with black olives and feta or ricotta, and BBQ chicken. Pretty much anything is good on a pizza and it's fun to be creative!
I also use this time to prep my pizza stones. I use the Pampered Chef stones, which are one of the greatest kitchen tools ever and just smear olive oil all over 'em.
If the dough rising fairies have been kind to you, your dough has doubled in size. Smush this down with the super-duper non-sticking silicon spatula and divide it into two halves.

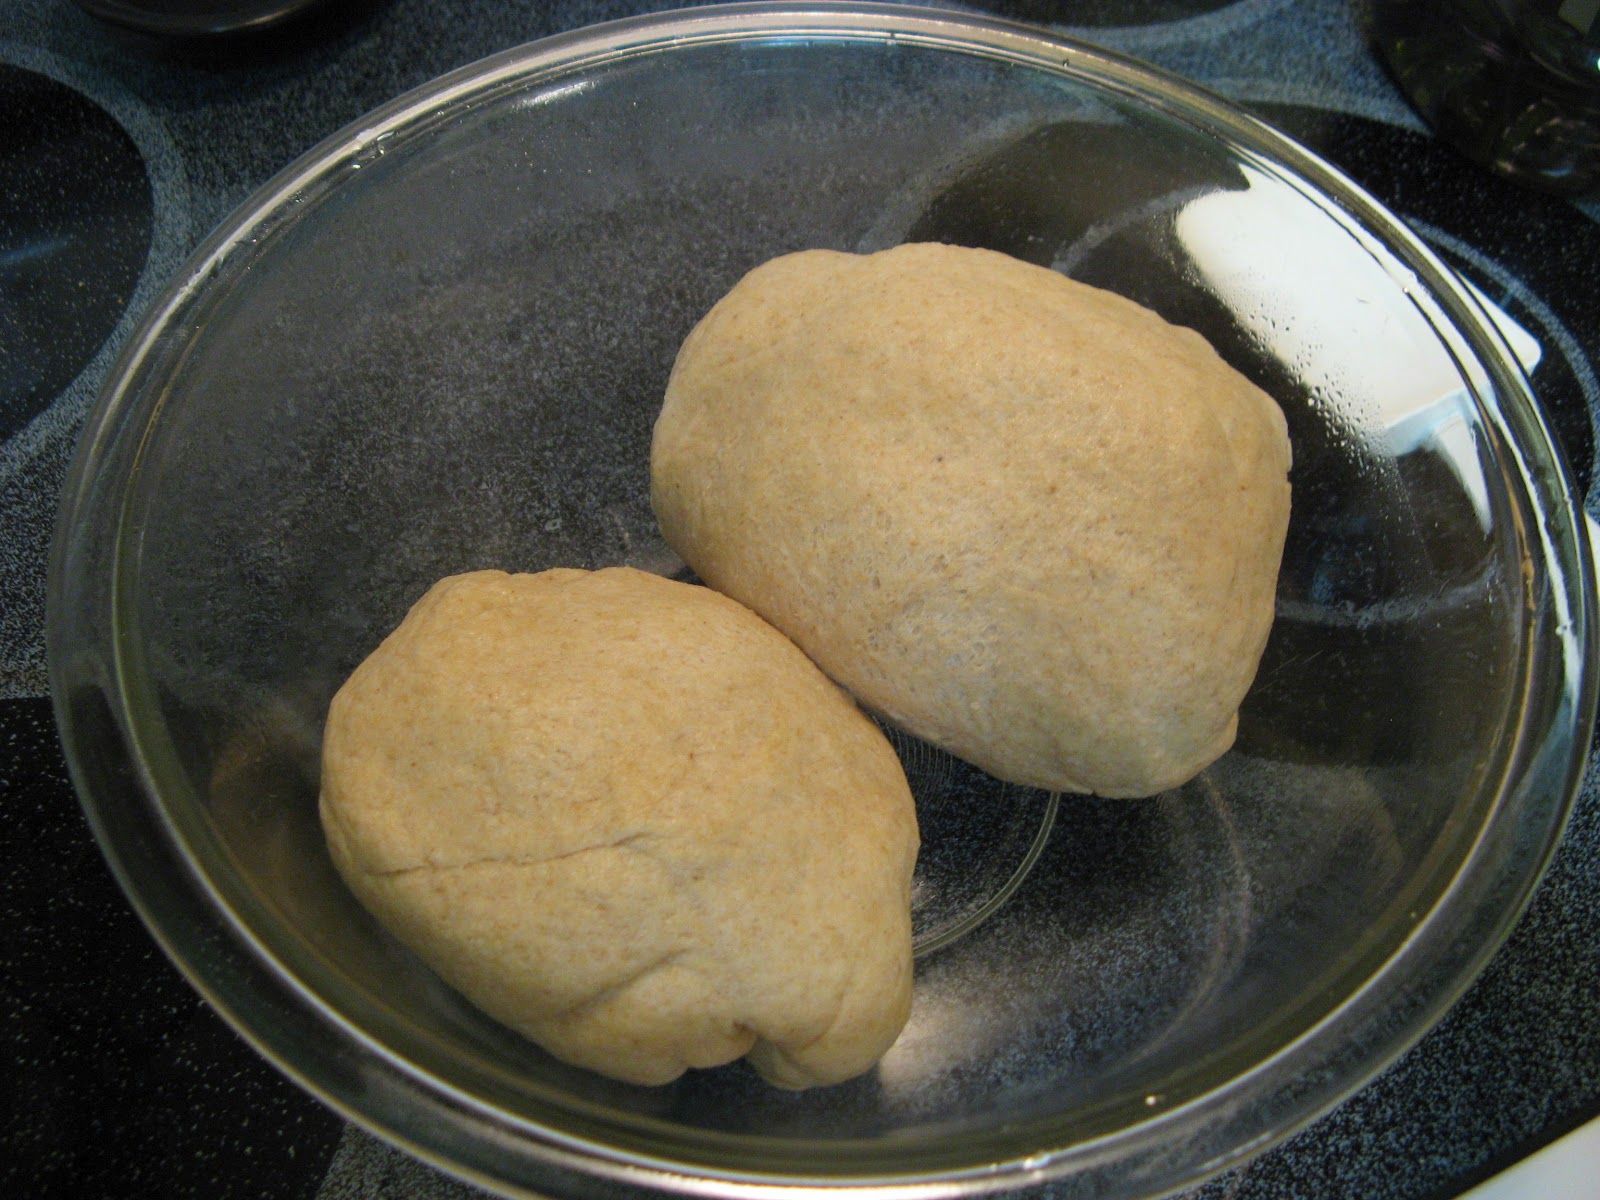
Form them into thick circles and plop them onto the oily stones. Roll the dough all the way out to the edges of the stones and use a fork to poke holes all over the dough.


If you want a thicker crust you can either use the dough to make only one pizza or, once the dough is rolled out onto the stones, warm the oven again and put them back in for another 30 minutes or so.
Once you're ready to assemble your pizza, preheat the oven to 450 degrees and spread the sauce to within one inch of the edge, creating your crust. If you want a crust that sticks up above the toppings like the restaurant pizzas, smush the dough up. That's all I've got...

All that's left is to add your toppings and cheese. Bake the pizzas for 10 minutes or so and that's it!
In my previous experience with homemade pizza, it always seemed to be as expensive as ordering pizza. Thanks to Costco and Trader Joe's, these pizzas aren't that expensive unless you want fancy toppings...
The cost of one pepperoni pizza, not including salt, sugar, basil and
oregano is only $ 4.50. I count the labor as a gift to my family.

Meal Planner
Monday, July 9, 2012
July 09, 2012
 | |||
| Some of my first recipes |
Also being a techy kinda girl, I began saving my recipes in an Access Database, that I taught myself how to use, and created a small recipe book to give to my friends and family one year. I find that it can be kind of daunting to love recipes and still have to come up with dinner for my family that 1) includes two picky eaters, 2) is healthy and my newest concern: 3) contains as few processed ingredients as possible.
I've introduced you to Pepper Plate here but also wanted to share my meal plan that I've been changing and adapting over the last few years. It started out like most meal plans that have the actual recipe on each day of the week, but that felt both intimidating and limiting. This meal plan has "suggestions" with a list of meal ideas below. Follow the link for a PDF of the plan:
MEAL PLAN LINK
Enjoy and check back for some of the recipes that are suggested on the meal plan.
My Favorite Recipe App
Saturday, July 7, 2012
July 07, 2012
Just wanted to begin by sharing one of my most favorite apps on my Kindle Fire: Pepper Plate at www.pepperplate.com.
 This is a recipe app that you access through your computer. It has a neat little widget that you can download to your browser so when you find recipes you want to keep, simply click "add to pepperplate" on your favorites or bookmarks bar, the widget appears, if it's one of the well-known recipe sites (ie, allrecipes.com,) you'll see "added to pepperplate" and that's it! I take my Fire into the kitchen, pull up the recipe and get to cookin'.
If, however, you've found a recipe you want to add that's on a blog or regular webpage, you can quickly copy/paste into the widget and drap and drop the photo.
A few months ago, we started trying to eat less processed foods, a lifestyle known as clean eating, and this app has helped me immensely in the kitchen because I don't have to print the recipe or put my laptop on my already miniscule counter. Get more information about clean eating here: www.100daysofrealfood.com.
I look forward to sharing the recipes I've found and some tips and tricks that I've figured out with this blog. I'll be posting on facebook (www.facebook.com/mtamra) and pinterest (www.pinterest.com/mtamra) so maybe I'll see you around!


